
Chevrolet Trax: Hood rear weatherstrip replacement (encore)
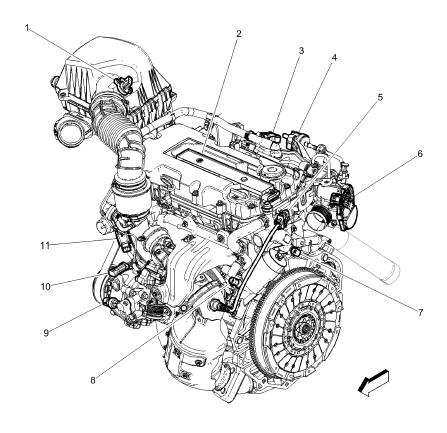
Fig. 41: Hood Rear Weatherstrip
Hood Rear Weatherstrip Replacement (Encore)
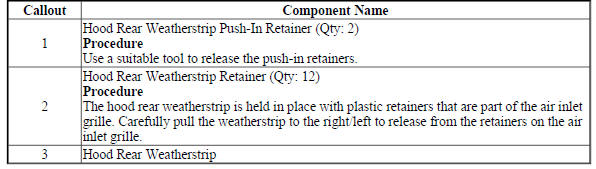
LIFTGATE STRUT REPLACEMENT
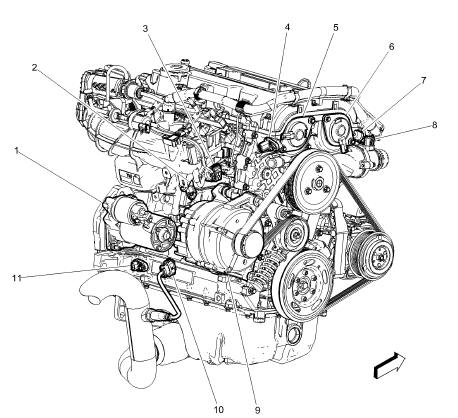
Fig. 42: Liftgate Strut
Liftgate Strut Replacement
.jpg)
.jpg)
FRONT OR REAR SIDE DOOR LOWER WEATHERSTRIP REPLACEMENT
.jpg)
Fig. 43: Side Door Lower Weatherstrip
Front or Rear Side Door Lower Weatherstrip Replacement
.jpg)
.jpg)
FRONT SIDE DOOR WEATHERSTRIP REPLACEMENT - DOOR SIDE
.jpg)
Fig. 44: Front Side Door Weatherstrip
Front Side Door Weatherstrip Replacement - Door Side
.jpg)
.jpg)
FRONT SIDE DOOR WEATHERSTRIP REPLACEMENT - BODY SIDE
.gif)
Fig. 45: Identifying Front Side Door Auxiliary Weatherstrip - Body Side
Front Side Door Weatherstrip Replacement - Body Side
.jpg)
LIFTGATE WEATHERSTRIP REPLACEMENT
.jpg)
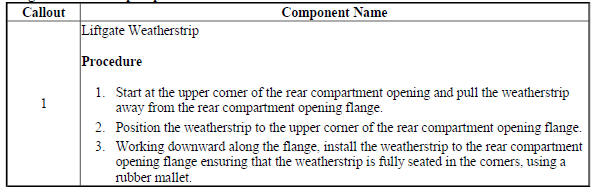
Fig. 46: Liftgate Weatherstrip
Liftgate Weatherstrip Replacement
REAR SIDE DOOR AUXILIARY WEATHERSTRIP REPLACEMENT
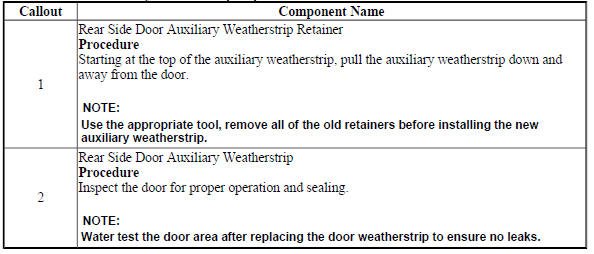
Fig. 47: Rear Side Door Auxiliary Weatherstrip
Rear Side Door Auxiliary Weatherstrip Replacement
REAR SIDE DOOR WEATHERSTRIP REPLACEMENT - DOOR SIDE
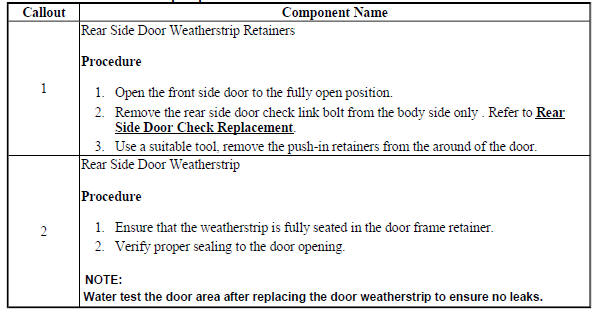
Fig. 48: Rear Side Door Weatherstrip
Rear Side Door Weatherstrip Replacement - Door Side
REAR SIDE DOOR WEATHERSTRIP REPLACEMENT - BODY SIDE
Fig. 49: Rear Side Door Weatherstrip - Body Side
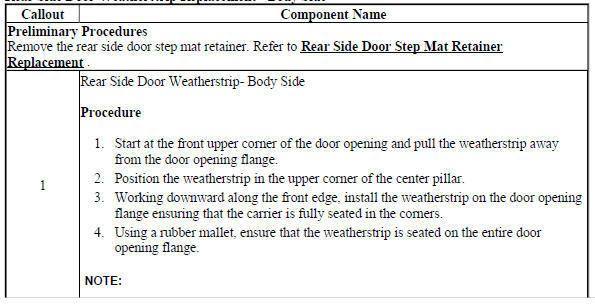
Rear Side Door Weatherstrip Replacement - Body Side

DESCRIPTION AND OPERATION
HOOD AJAR INDICATOR DESCRIPTION AND OPERATION
Hood Ajar Switch
The body control module (BCM) applies B+ to the hood ajar signal circuit and monitors the voltage to determine the position of the hood. When the hood is closed, the switch is open and voltage remains high.
When the hood is open, the switch is closed and the voltage is pulled low.
The BCM uses the hood ajar switch as a content theft deterrent alarm trigger.
Hood Ajar Indicator/Message
When the hood is ajar, a message is displayed on the DIC or the hood ajar indicator will be illuminated.
READ NEXT:
 Schematic wiring diagrams
SPECIFICATIONS
FASTENER TIGHTENING SPECIFICATIONS
Fastener Tightening Specifications
SCHEMATIC WIRING DIAGRAMS
RADIO/NAVIGATION SYSTEM WIRING SCHEMATICS (ENCORE)
Power, Ground, Serial Data, Antenna,
SEE MORE:
Power brake booster vacuum hose replacement
Removal Procedure
With the engine OFF, apply and release the brake pedal several times to
deplete the power vacuum brake
booster vacuum reserve.
Raise and support the vehicle. Refer to Lifting and Jacking the Vehicle
.
Fig. 173: Power Brake Booster Vacuum Hose Quick Connect
Through the
Shoulder Belt Height Adjuster
The vehicle has a shoulder belt
height adjuster for the driver and
right front passenger seating
positions.
Adjust the height so the shoulder
portion of the belt is on the shoulder
but not falling off of it. The belt
should be close to but not
contacting the neck. Improper
shoulder belt height adju
